Quickstart
Get MCPGate connected to your AI client in under 90 seconds. Follow these five steps to go from zero to a working MCP endpoint.
Sign Up
Go to mcpgate.sh, click Get Started Free, and create your account. No credit card required — the free tier gives you access to all connectors with standard rate limits.
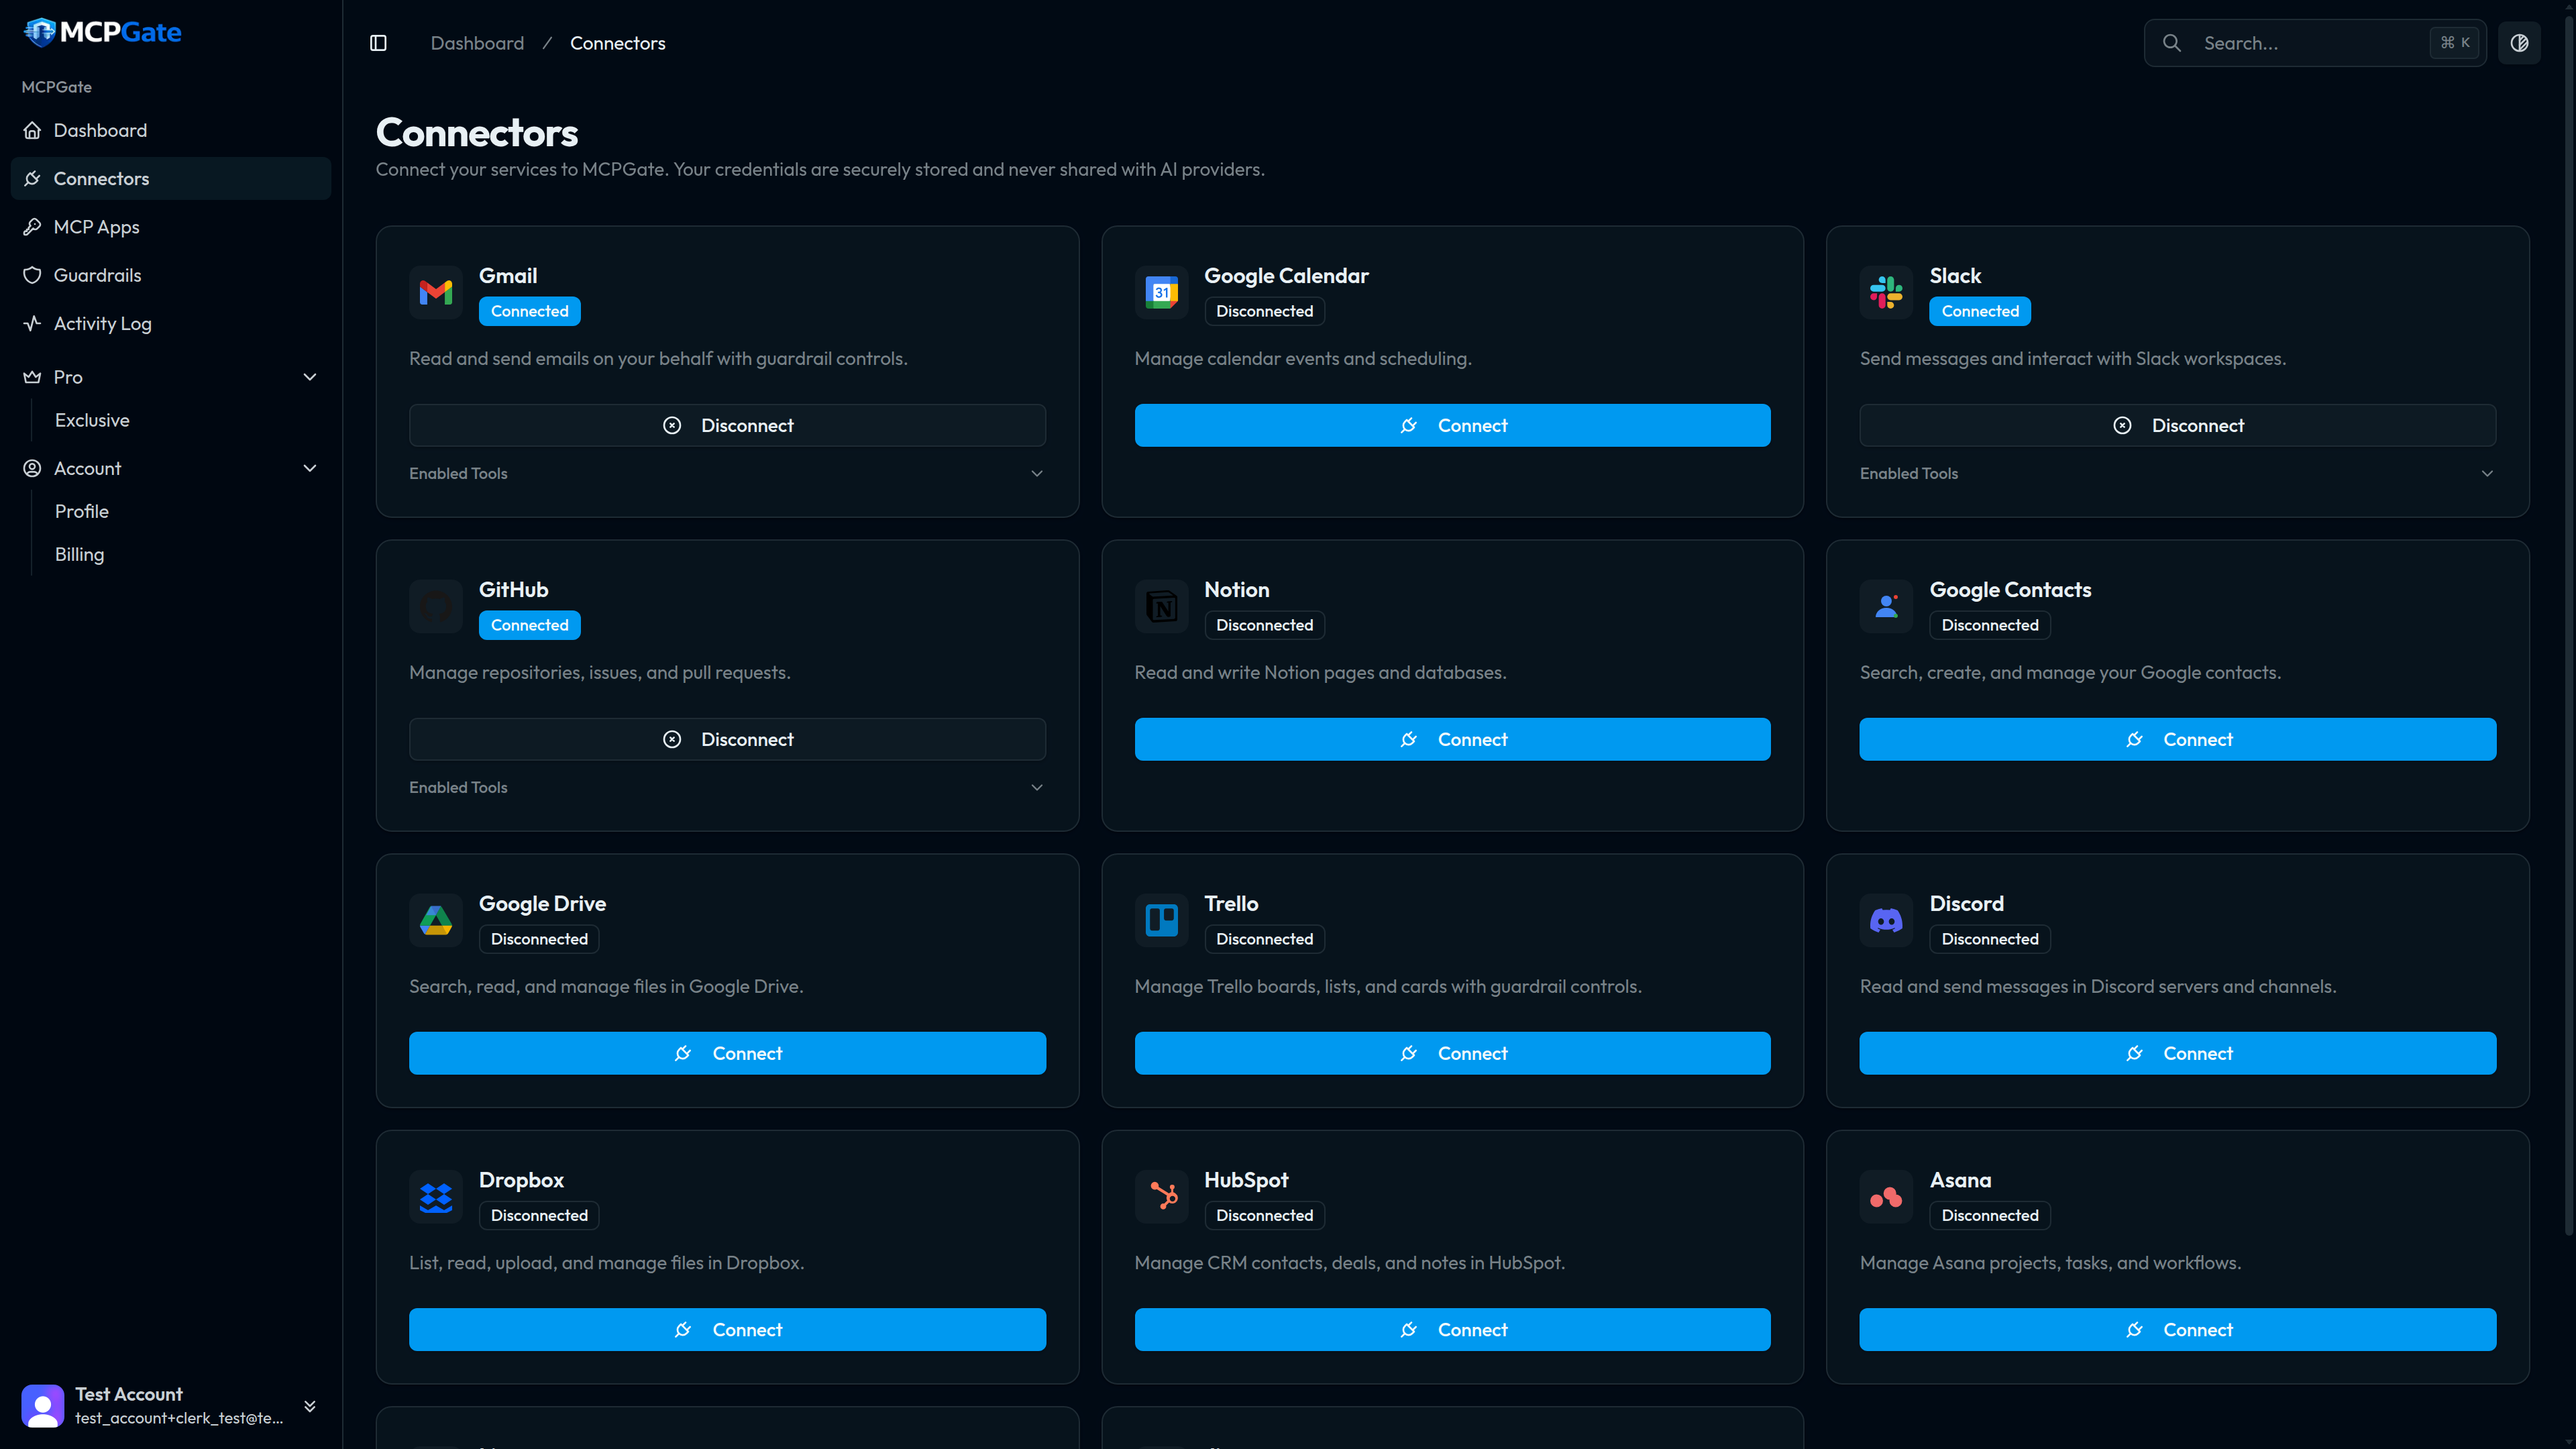
Connect a Service
Click Connectorsin the sidebar. You'll see a grid of available services. Click Connect on Gmail — or any other service — and complete the OAuth flow. MCPGate stores your token in an AES-256-GCM encrypted vault; it never leaves your MCPGate account.
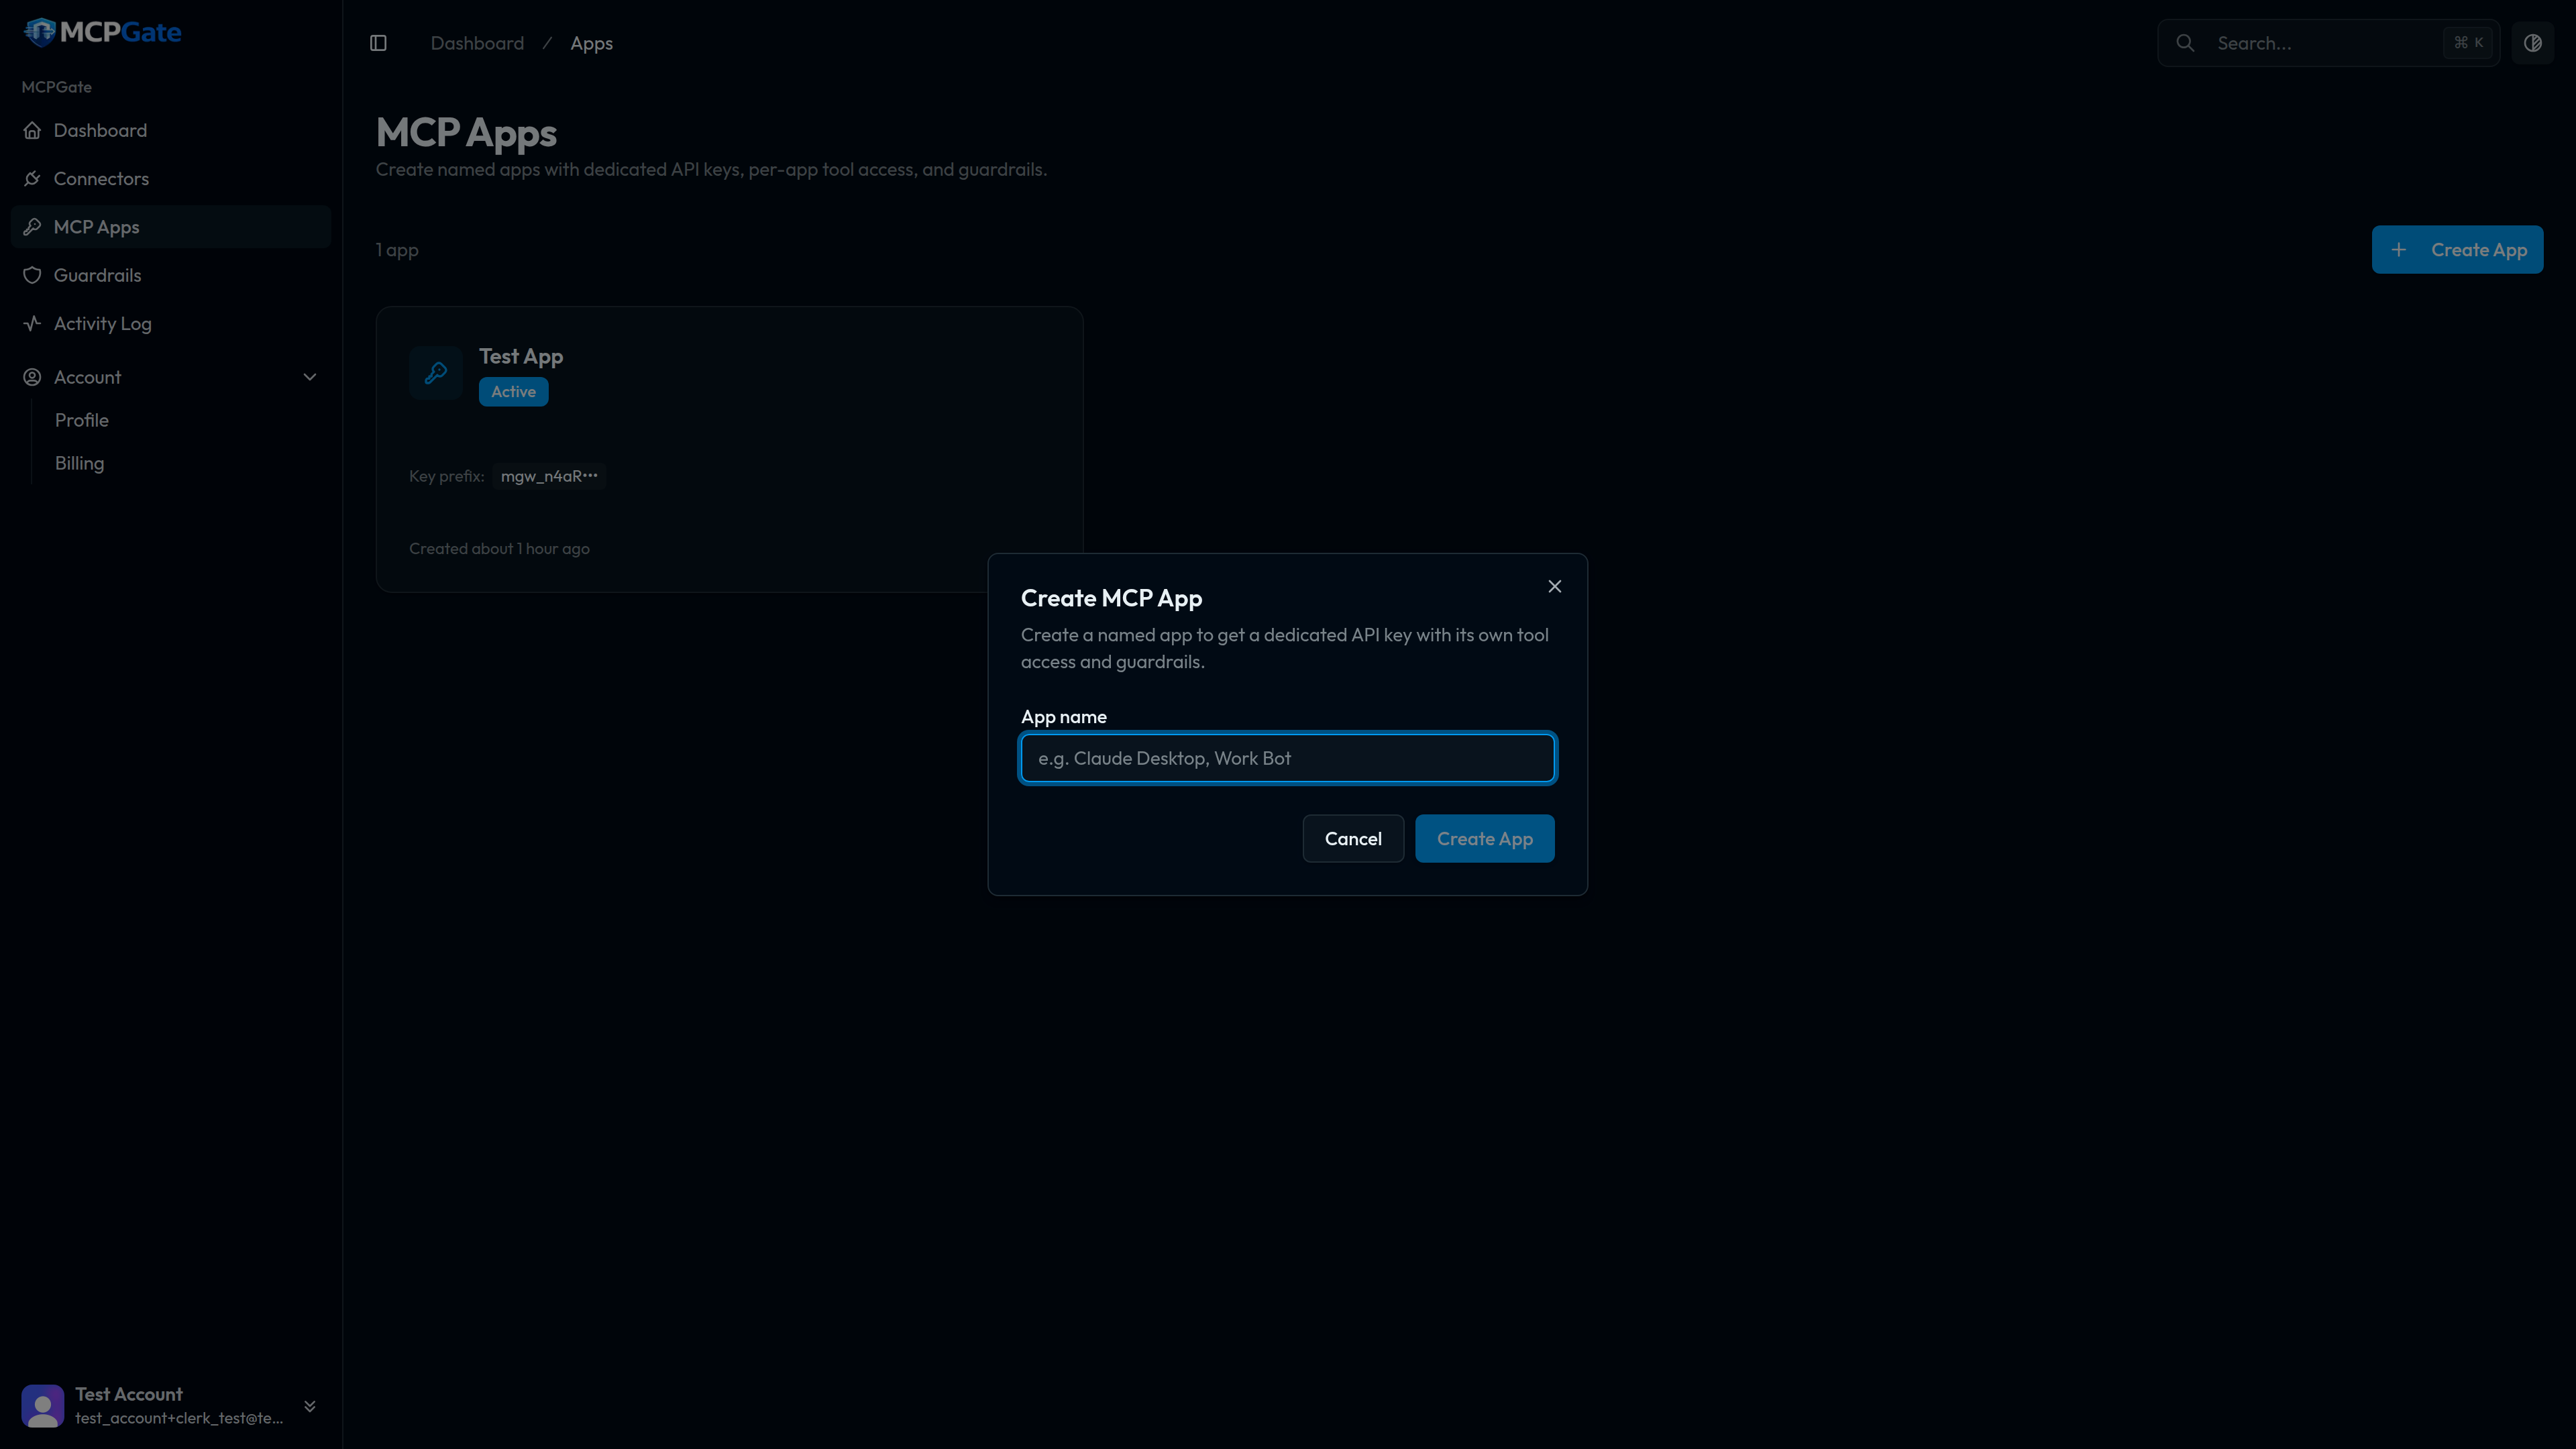
Create an MCP App
Go to MCP Apps and click Create App. Give it a descriptive name that matches the client you'll connect, such as Claude Desktop or Cursor — Work. Each app gets its own API key and its own independent guardrail policy, so different clients can have different levels of access.
Configure Guardrails
On your new app, open the Guardrails tab. Toggle individual tools on or off, and add rules from the template library — keyword blockers, PII filters, rate limits, and more.
Tip
gmail_list_messages and gmail_get_message first, and add gmail_send_email only when you're confident in your guardrail rules.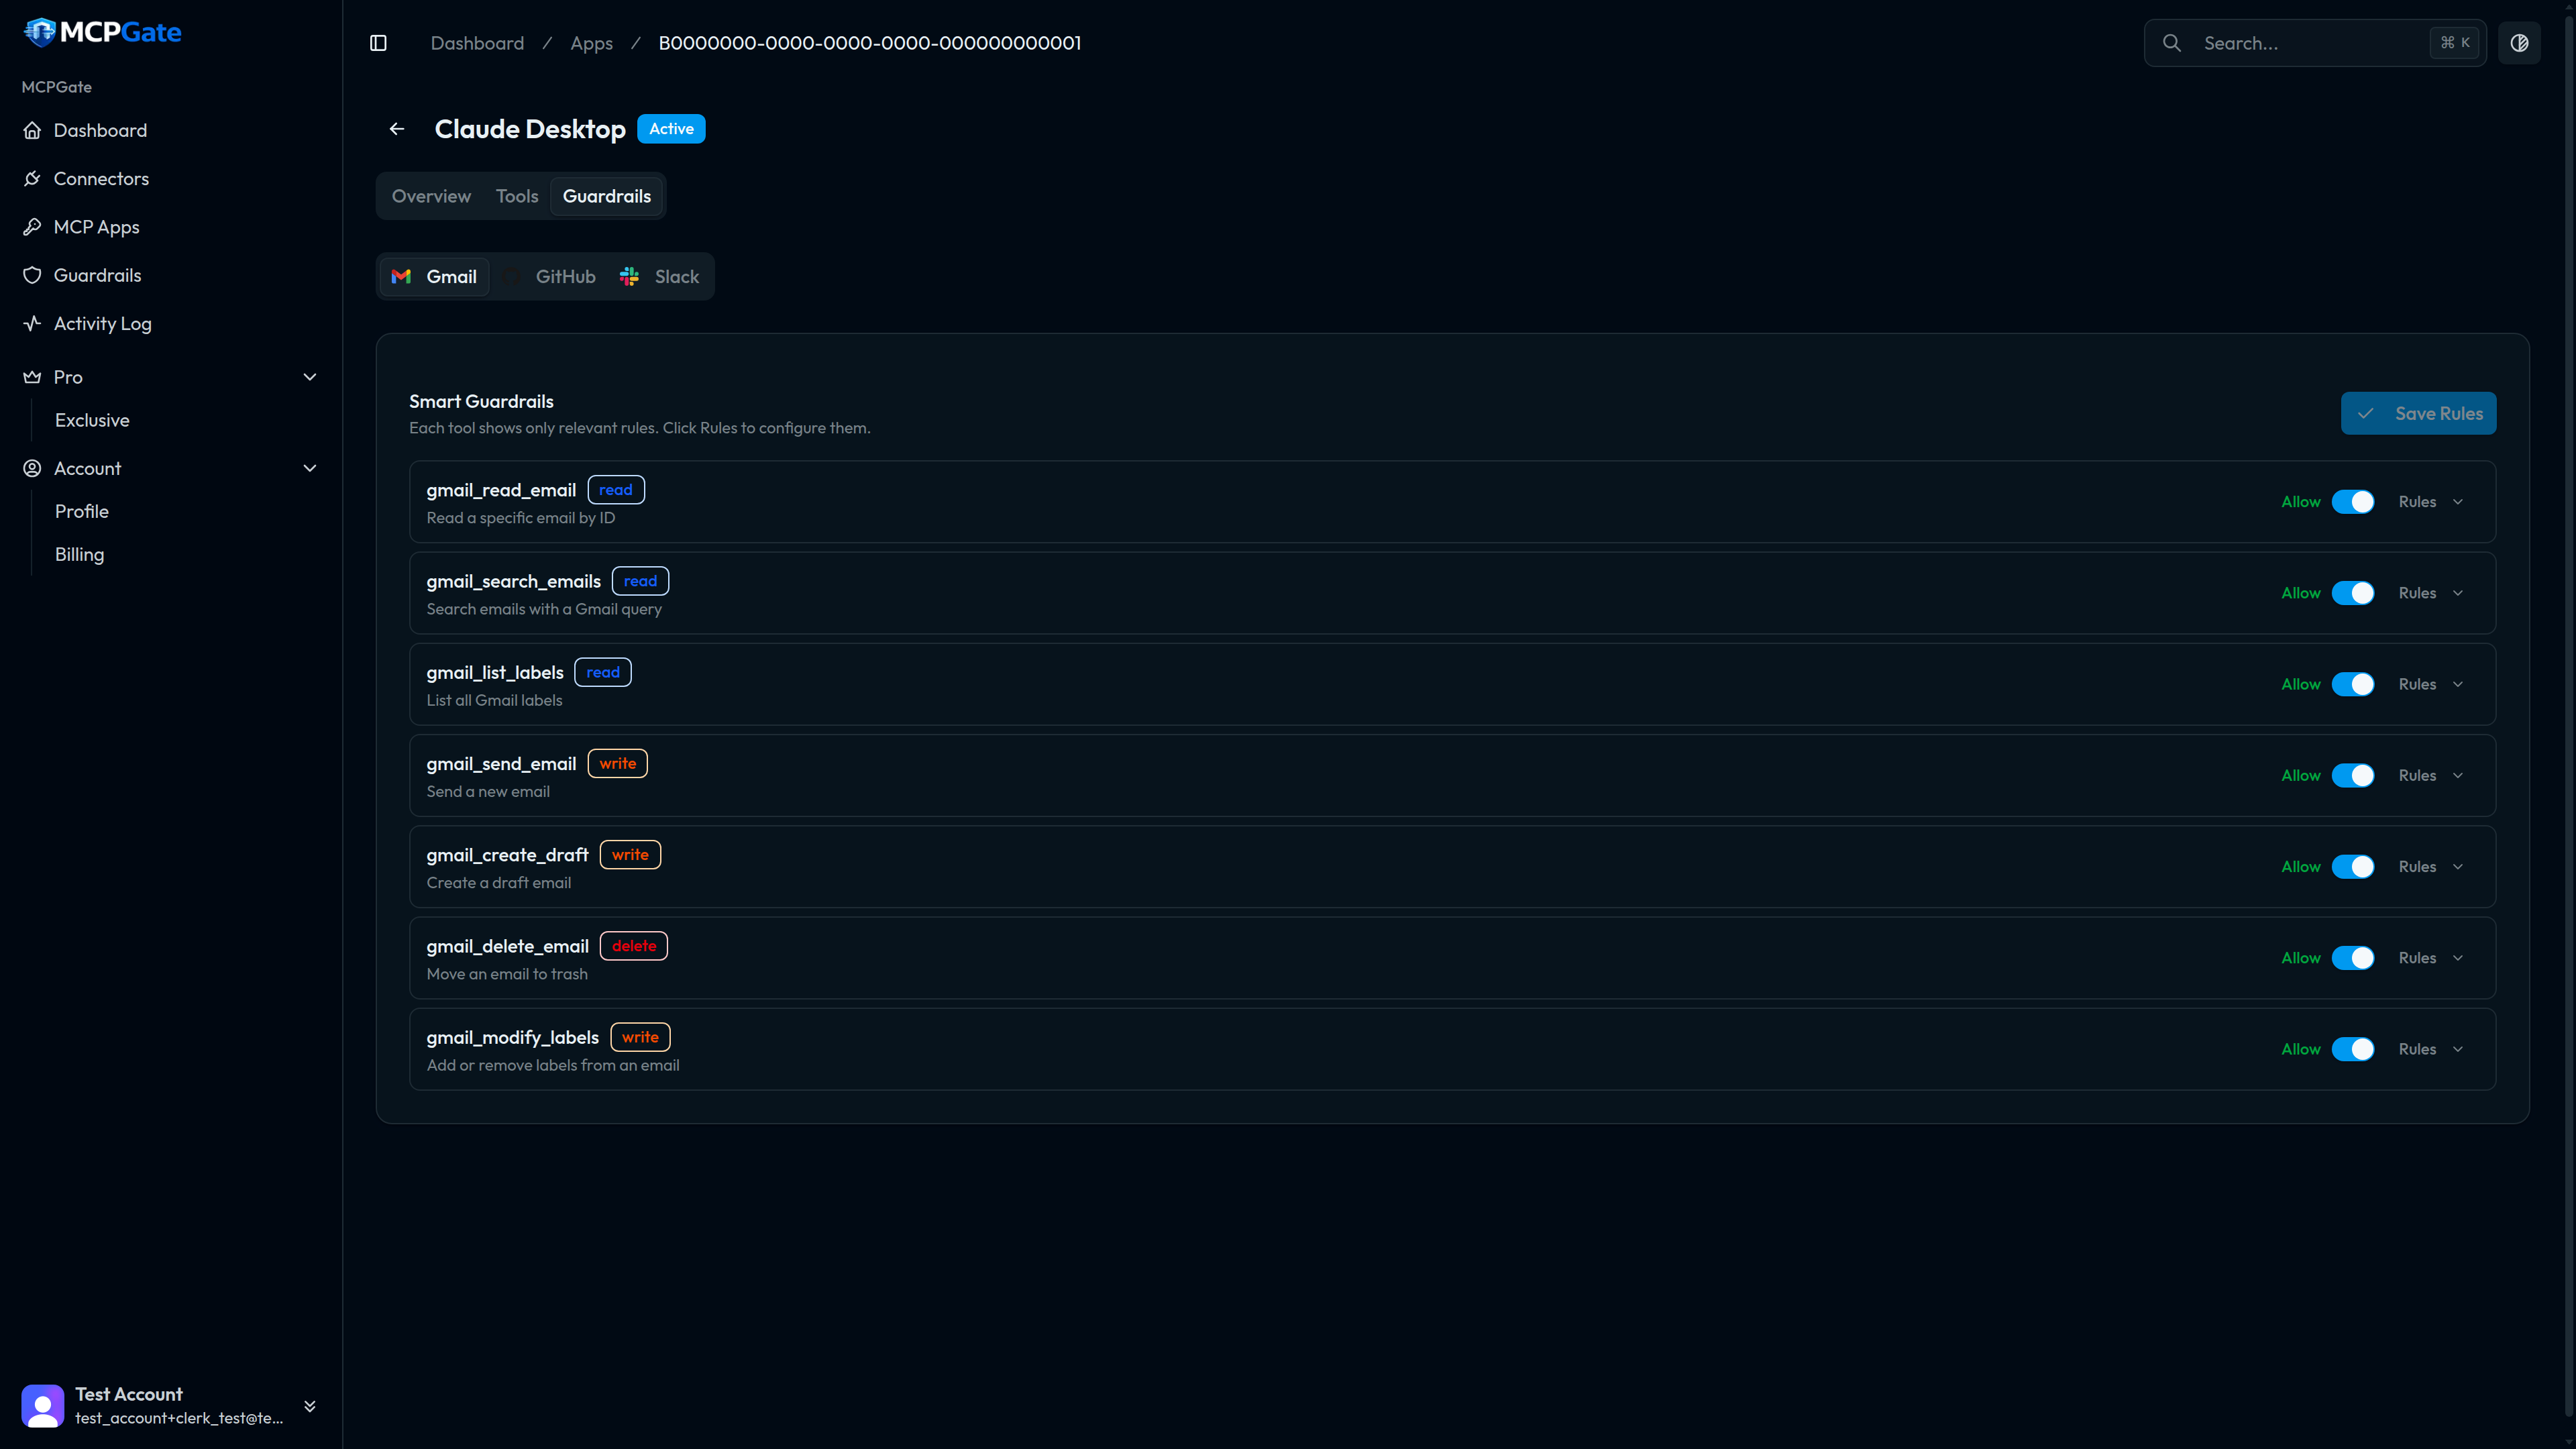
Paste into Your AI Client
Copy the MCP endpoint URL from the app's Overviewtab, then paste it into your AI client's MCP configuration. For Claude Desktop, add the following to your claude_desktop_config.json file, replacing YOUR_API_KEY with the key shown in your app:
{
  "mcpServers": {
    "mcpgate": {
      "url": "https://mcpgate.sh/mcp/YOUR_API_KEY"
    }
  }
}
Restart Claude Desktop. Your connected services will appear as available tools. The AI can now call them — subject to the guardrails you configured.

Other clients